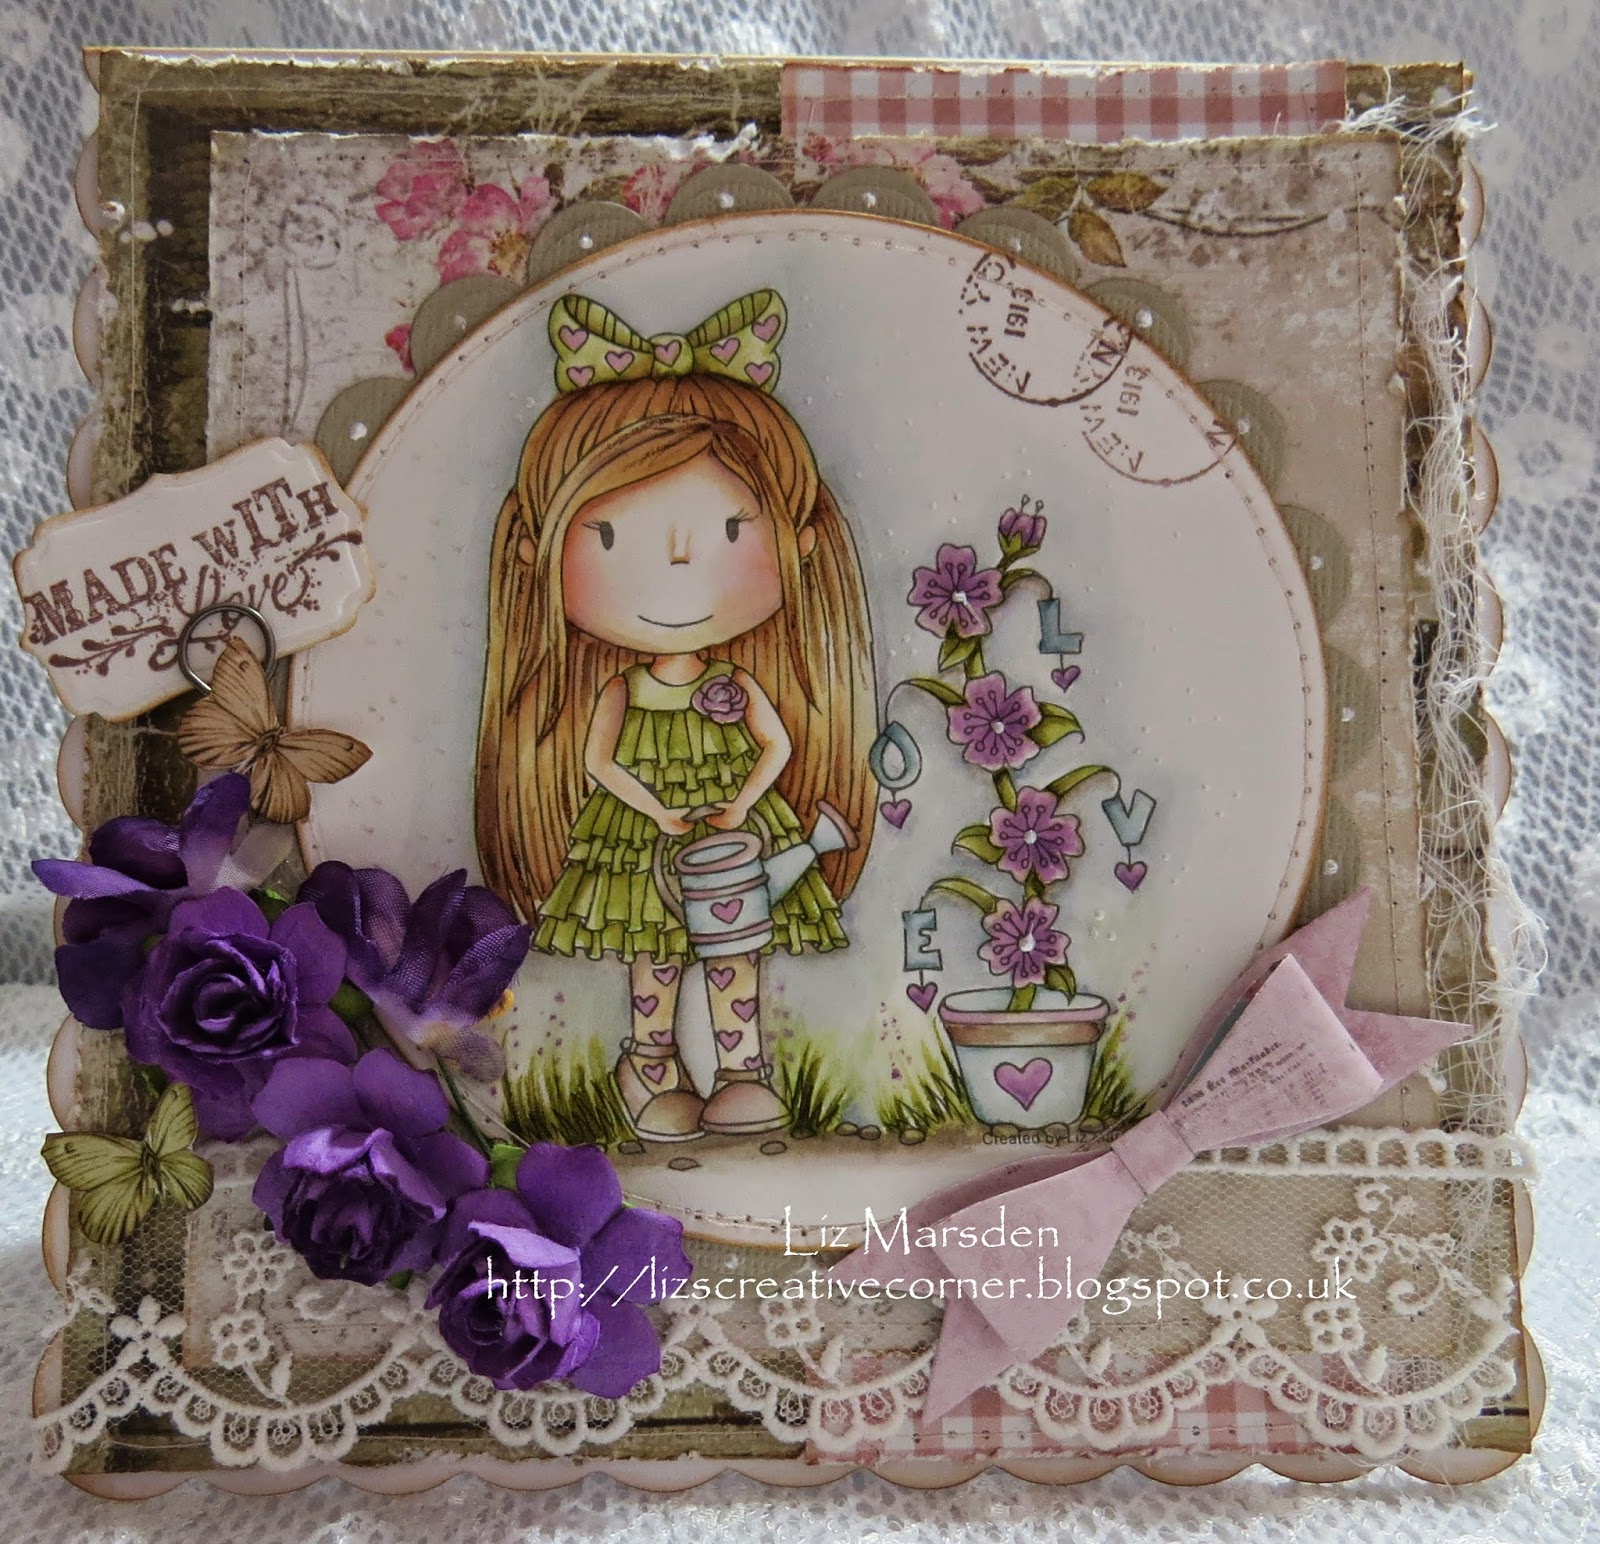
Hi guys, phew these weeks go fast don't they, anyway it's time again for the latest challenge over at
paper Take Weekly
which is Take your pick,
Choose sketch 98 or free for all,
cool colours from the colour wheel
Technique- Masking - make a scene using 2 or more images
Use Kraft card,
go to the challenge site for more details,
I've used all of them,
I've masked Tilda goes shopping with Boutique shop window,( I've done a little tutorial of this technique which is below), I coloured the images with my copics and cut out the shape using a Go Kreate die,
The gorgeous flower is from The Ribbon Girl, the flourishes are from Cheery Lynn again, love this flourish!!!!
Masking Tutorial shown for this card,
Take your chosen stamps, and stamp the one to be in the foreground first onto your chosen card stock, make sure you leave plenty of room for the background stamp,
Next make a mask of the foreground stamp, ie Tilda goes shopping, I used 2 post it notes, layered together as my image was larger than one piece, you then stamp on your image and cut around the outline, here I left the right hand side on it, as i wanted the mask to stick down better and because the background stamp wasn't going near there, you can of course cut all the way round and is what you usually do if your not being lazy like I was lol,
Place your mask carefully over your stamped image, so none of the bottom stamp shows, as shown.
Take your background stamp and a stamping system for masking, ink your stamp and place your stamp onto your stamping block and then take this to the stamping system,mine consists of 2 acrylic pieces, one is a upside down L shape and a oblong acrylic piece which you fit together in the angle shown, ( top Left) then take your background stamp and fit it into the angled corner too, as shown, hopefully you can just make out the larger acrylic piece underneath, that my stamp block is stamping onto,
lift your stamped image up and you should then have a light image on your masking system acrylic block,
This picture is the background image on the masking system so you can place it over your masked image, to place it where you want it to be, ie, left, right, up down etc, I made most of the Boutique letters visible and the window higher then Tilda's feet to look like it's in a building as she's walking past, when you have this where you want it, carefully lift the larger piece of the masking system off your masked image making sure you don't move the upside down L shaped piece, as this is your guide for your stamp background, if you do move it just go back and align it all up again,
PS: sorry I've just noticed the bits of old stamping on my masking system at the bottom of the picture, I once used a permanent ink for another project and it won't come off, so just ignore that bit
Take your inked up stamp on your stamp block and making sure it fits into the angled corner of your upside down L shaped masking system, stamp your background image over your masked image, as shown above,
This is what it will look like after you have removed the background stamp, parts of the stamp will be on the mask, this is what it should be so don't worry!!! at this point remove your Tilda mask, you can reuse this later some time or throw it away,
This is the finished look, I hope this has made sense as it's a little hard to explain, if you want to ask any questions, just ask away,
Papers Maja Design,
Kraft cardstock
Doo Hickey border die
Cheery Lynn flourish die
TRG - flower - Mixed Dahlia Barley sugar
Tim Holtz Idea-ology chit chat stickers
copics
Skin - E000, 00, 11, 13, R11
Hair - E44, 43, 42, 41, 40
Top - E55, 53, 51, 50
Jeans - E77, 74, 71, 70
Shoes - W5, 3, 1, 0
Bags / blue - B97, 95, 93, 91
Green - G21, BG93
Window frame - W5, 3, 1, 0,
Bricks - W3, 1, 0, - E43, 41
Glass - C3, 1, 0
Challenges
Simply Magnolia - CAS or fully loaded
Dies R Us - flourishes
Bunny Zoe's - for the girls
Cheery Lynn - Anything goes
Simply Magnolia - CAS or fully loaded
Dies R Us - flourishes
Bunny Zoe's - for the girls
Cheery Lynn - Anything goes
Happy Crafting!!!
Hugs Liz xx


